Sweatbox guide
Basics
Sweatbox is a complex tool that takes time to properly utilize to it's full potential. The pages in this chapter will guide you through most things you need to know in order to conduct a session both on ground and in the air.
Starting a simulator session
Ways to participate
There are three main ways to participate in a Sweatbox session:
- Running the scenario
- Join as pseudo pilot
- Join as student or additional controller
It is possible to have multiple Pseudo pilots and simulation of individual aircraft can be transferred between them. In practice this means that it is possible to have one Pseudo pilot on ACC and another on APP for the same scenario.
When you connect and run a scenario, you will automatically be a Pseudo pilot as well.
How to connect
There are two sweatbox servers available for use. The main server is available in the connection dialogue by default, named "Sweatbox".
The second server can be used by changing the server field to sweatbox-2.vatsim.net. This must be done by all participants.
This means that if you run a scenario on ENBR APP and Denmark runs a session on EKDK CTR, your aircraft will show for them and vice versa. Be sure to delete any aircraft that may enter EKDK airspace in this case.
Avoid using the same server when there is an overlap in airspace. If you are planning a session on ENBR TWR and someone else is using the server for ENBR GND, there will be a conflict. Use the other server instead.
Run a scenario
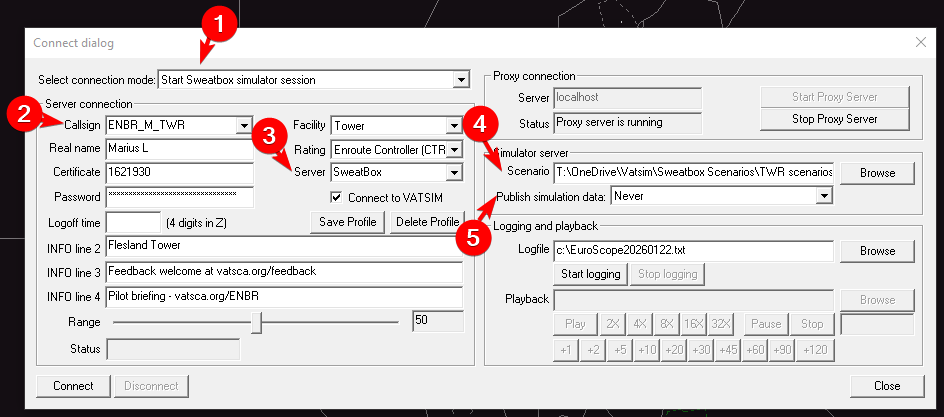
Connection dialog set up to run the session.
- Connection mode set to "Start Sweatbox simulator session"
- Use a callsign that doesn't conflict with any other position. Depending on the scenario file, you may have to use a specific Pseudo callsign
- These are defined in the scenario file.
Example: INITIALPSEUDOPILOT:ENBR_M_TWR
- These are defined in the scenario file.
- Connect to the Sweatbox server. Change to server 2 if necessary.
- Select the scenario to run from your local disk
- If you are the only pseudo pilot, set to Never. Select "To Pseodo pilot only" if there are multiple Pseudo pilots participating
Join as a pseudo pilot
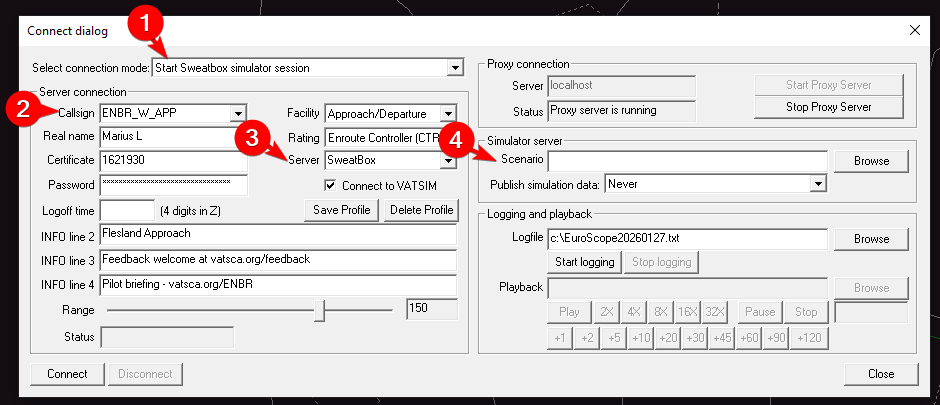
Connecting as an additional pseudo pilot is very similiar to running the scenario. The only exception is to leave the scenario field (4) blank.
- Connection mode set to "Start Sweatbox simulator session"
- Use the relevant callsign, usually for a position you will control
- Change the server
- Leave scenario field blank
How students shall connect
Connecting to sweatbox as a student is very simple. They log on exactly as they would on the network with the correct callsign for the position they will control, but the only exception is changing "Server" to either Sweatbox or the address for server 2 if used.
Taking control
The Simulator Control Ribbon
 The Simulator Control Ribbon appears below the main menu area at the top when connecting with “Start Sweatbox Simulator session”. It is grouped into the following areas:

A fixed information area

Route ribbon

Status ribbon

Approach ribbon

Ground simulator ribbon

Takeoff ribbon

Emergency ribbon

Lights and time acceleration ribbon

Pause/play button
Alternative control methods
Piloting list
Operating on ground
Operating in the air
This page will demonstrate most functions to operate aircraft in the air in Sweatbox.
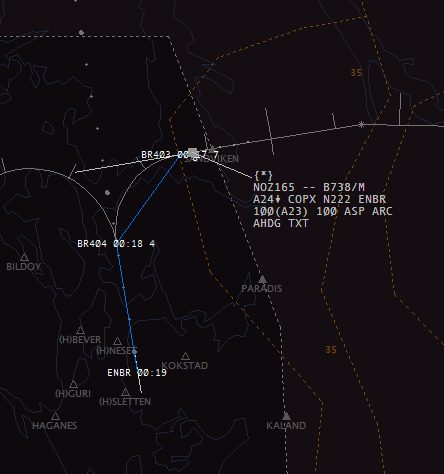
Tag for simulation
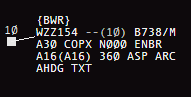
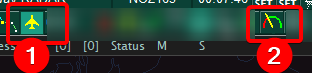
The easiest way to control aircraft in the air is to use the Matias (built in) tag.
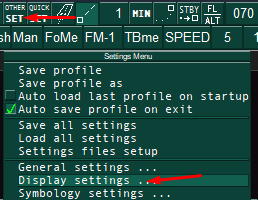
You can change tags from OTHER SET - Display Settings

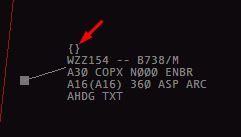
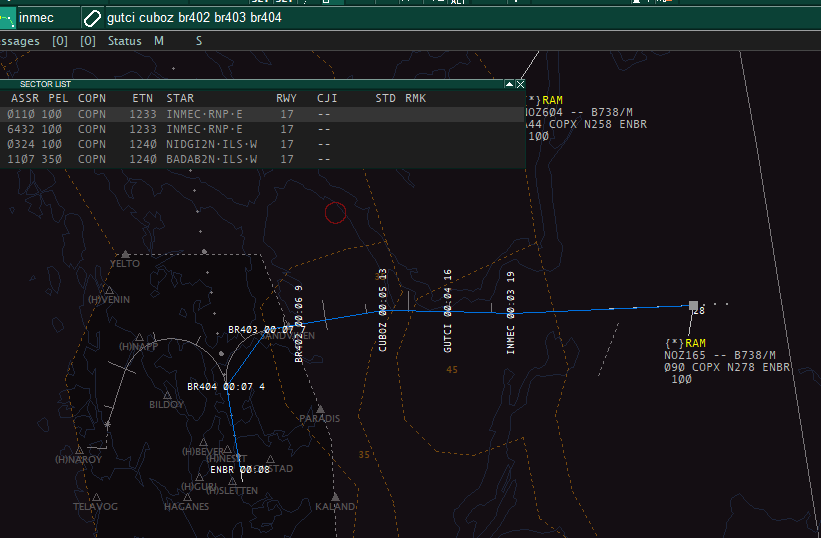
The brackets show who has simulator control of the aircraft as a "pseudo pilot".
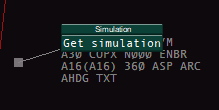
Clicking the brackets allows to get simulation of the aircraft and act as the pseudo pilot.
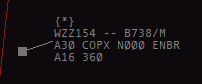
An asterisk inside the brackets indicate that you have simulation of the aircraft.
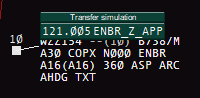
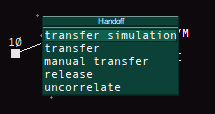
If you are multiple mentors / operators it is possible to transfer simulation by clicking the brackets and choosing who to transfer to. The receiving operator does not have to accept; the simulation is instantly transferred.
Simulation is now transferred to BWR which is acting as pseudo pilot for this aircraft.
Handoff
Transferring the tag is done as normal by clicking the callsign.
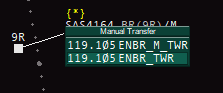
If there are multiple stations online it is recommended to use manual transfer to ensure that that tag is properly transferred to the correct controller.
Show route

To have a glance at the current route, right click the RFL field.
To enable persistent drawing of the route, right click the AFL field.
Headings

Can be set by clicking and selecting the new heading.
Another option is to click and drag out a heading you would like to assign the aircraft, form the heading field. Left clicking will set the heading, right click cancels.
Climb and descent
Altitude is modified by selecting a new one from the Temp alt in parentheses. The aircraft will begin climbing or descending shortly after the value is changed.
Speed control
If the aircraft does not have any assigned speed it will follow the normal speed profile according to the aircraft performance.
Applying speed control is done by clicking "ASP", then selecting the assigned speed.

Selecting --- will cancel speed the speed restriction and resume normal speed.
Click the icon to cycle between the modes.

In order from left to right, they are:
- No speed control
- Exact speed
- Or less
- Or greater
Routing

Routing is controlled by the route ribbon.
- Current inbound waypoint. Can also be used to give a direct.
- Next waypoints in route
To send the aircraft direct a waypoint, modify the next waypoint by clicking it, write the waypoint and press enter.
It is also possible to send the aircraft to the next waypoint from the route.
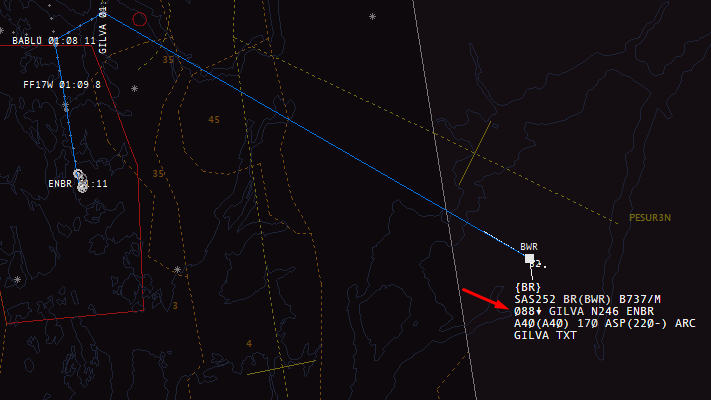
Example direct GILVA
The GIF below shows how a direct to waypoint GILVA can be done via the route ribbon.

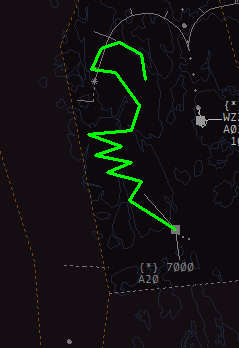
Manual route drawing
Right clicking the inbound waypoint also allows to draw a new route the aircraft should follow. Left click to create points, then right click to add.
Clearing approach

Once the aircraft is about to establish either on a heading or via route, select the applicable option depending on scenario from the "Approach commands" ribbon.
For full stop landing, the second option is recommended to have the aircraft vacate as soon as possible. Selecting any of the intersections will try to have the aircraft vacate via that specific intersection.
It is also possible to clear approach from the Matias tag, via the altitude field.

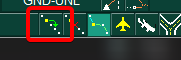
Holding
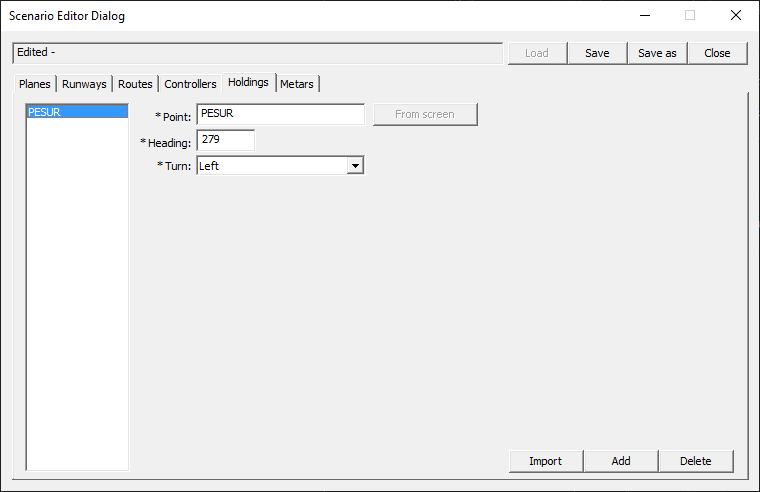
Holdings must be pre-defined in the scenario as published holdings in order to use them.


Then once the aircraft is inbound the holding FIX, click the holding instruction from the route ribbon.

Confirm that the aircraft is entering holding via the status ribbon
Controlling VFR
Since these aircraft usually don't follow any waypoints we have to manually control their movements using headings, or use the manual route drawing from the previous "Routing" section.
Example using the route ribbon.
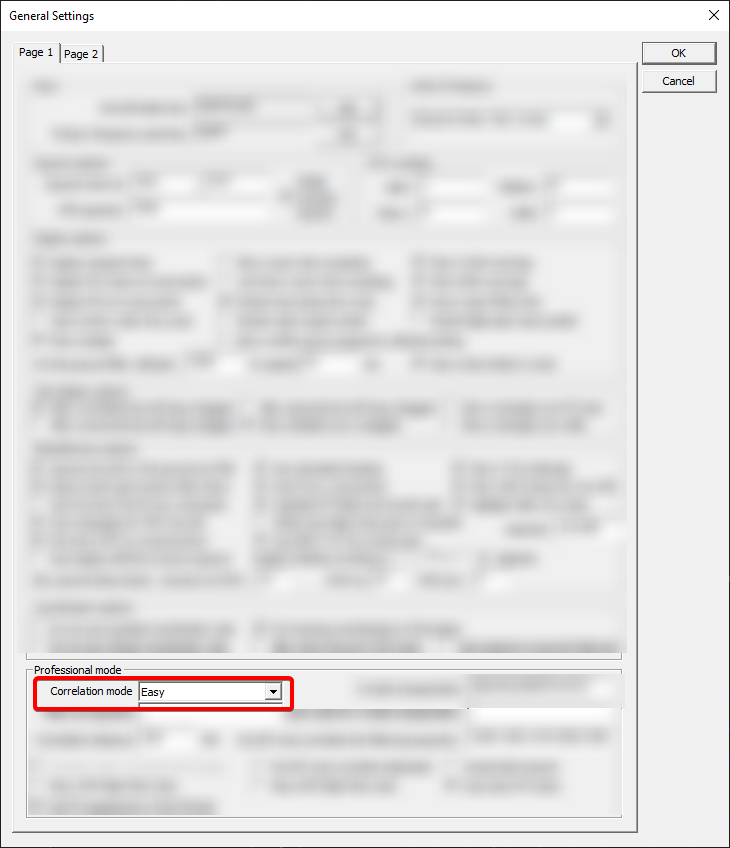
It is highly recommended to set Correlation mode to Easy in General settings. This allows to control uncorrelated aircraft via the Matias tag. Very useful for VFR that is squawking 7000.
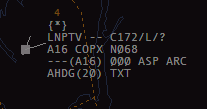
Uncorrelated aircraft squawking 7000 with correlation mode "Easy". This will only apply locally - others will still see an uncorrelated tag.
Establish on final
The easiest way to achieve this is to vector the aircraft onto the ILS (using heading) then use clear approach.
Touch and go / low approach
From the Approach commands ribbon, select any of the following options
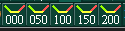
| Option | Function |
|---|---|
| 000 | Touch and go |
| 050 | Low approach at 50 ft |
| 100 | Low approach at 100 ft |
| 150 | Low approach at 150 ft |
| 200 | Low approach at 200 ft |

Confirm via the status ribbon
RNP AR
Having aircraft properly fly RNP AR is a tedious process. It is generally recommended to avoid these procedures in Sweatbox. Each waypoint must be added to the route from the route ribbon.
Descend the aircraft according to constraints, then set clear approach from the altitude field once the aircraft is turning to final track.